
Animated GIFs have quietly become one of the most practical visual formats on the web. They load quickly, loop smoothly, and communicate ideas without sound. But GIFs also come with a common limitation: the background is usually baked in. Once it’s there, removing it isn’t as simple as it is with a single PNG or JPG.
That’s where a GIF background remover comes in. Whether you’re cleaning up a product animation, repurposing a meme, or preparing visuals for a website with a dark mode, background removal can make a GIF far more flexible.
Still, removing backgrounds from GIFs is not magic, and it’s not always clean. Understanding how these tools work and where they struggle can save you a lot of frustration.
What a GIF Background Remover Actually Does
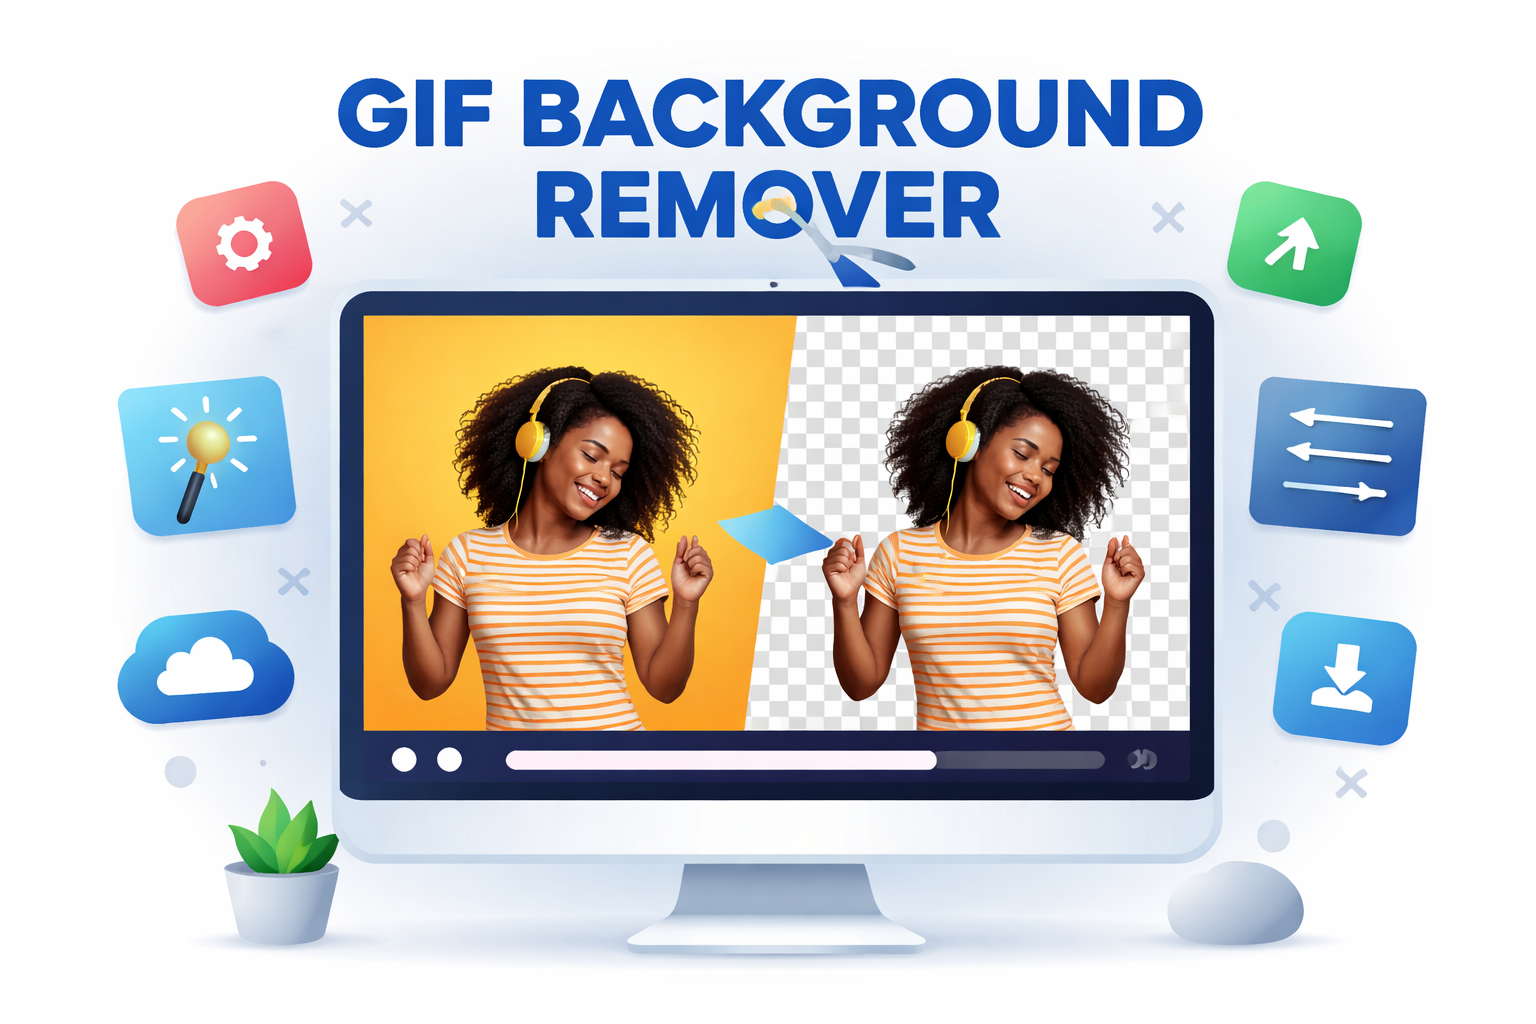
A GIF background remover separates the foreground from the background across every frame of an animated image. Unlike static images, GIFs can contain dozens or even hundreds of frames, each with slight changes in position, lighting, or color.
Most tools handle this by:
- Breaking the GIF into individual frames
- Detecting the subject in each frame
- Removing or masking the background
- Reassembling the frames into a new GIF
The challenge is consistency. If the subject detection shifts even slightly from frame to frame, you’ll see flickering edges or ghosting around the subject when the animation plays.
This is why GIF background removal is still harder than removing backgrounds from photos.
Why Removing Backgrounds From GIFs Is Tricky
Background removal relies on contrast. When the subject clearly stands apart from the background, tools perform well. When colors overlap, motion blur appears, or lighting changes mid-animation, things get complicated.
Some common problem areas include:
- Hair, fur, or semi-transparent objects
- Fast movement between frames
- Backgrounds with similar colors to the subject
- Compression artifacts common in older GIFs
A GIF background remover has to make judgment calls hundreds of times per second. Even advanced tools can struggle with edge accuracy when frames change rapidly.
This is also why results vary depending on the source GIF, not just the tool.
Types of GIF Background Removers
Not all background removers are built the same. Understanding the categories helps you choose the right approach.
Online Automated Tools
These are browser-based tools that upload your GIF and process it automatically. They’re convenient and fast, especially for simple animations.
They work best when:
- The subject is clearly defined
- The background is uniform
- The animation is short
The downside is limited control. If the tool misidentifies edges, you often can’t fine-tune the result.
Desktop Editing Software
Programs like Photoshop or After Effects allow manual frame-by-frame editing or mask refinement. This approach takes more time but offers much better control.
This route makes sense when:
- The GIF is important to a brand or product
- The animation is complex
- Visual quality matters more than speed
The trade-off is effort. Editing dozens of frames manually is not fast.
AI-Based Background Removal Tools
Newer tools use machine learning models trained on motion and object recognition. These tools adapt better to movement and changing frames.
They’re particularly useful for:
- Human subjects
- Talking head animations
- Repetitive motion
Results are improving, but they still depend heavily on the quality of the original GIF.
When Using a GIF Background Remover Makes Sense
Background removal isn’t always necessary. In some cases, keeping the original background is more practical.
Good use cases include:
- Placing a GIF over different website backgrounds
- Creating transparent stickers or overlays
- Standardizing visuals across platforms
- Removing distracting or outdated backgrounds
Less ideal scenarios include:
- Highly compressed meme GIFs
- Low-resolution animations
- Complex scenes with multiple moving subjects
If the background doesn’t interfere with the message, removal may add more work than value.
Transparency and File Size Considerations
One overlooked issue with GIF background removal is file size. Transparent GIFs often become heavier than their original versions.
That happens because:
- Transparency requires additional data per frame
- Reassembled GIFs may lose optimized compression
- Color palettes may expand after processing
For web use, this matters. A large transparent GIF can slow down page load times, especially on mobile.
In some cases, converting the output to formats like WebP or APNG is more efficient, assuming platform support allows it.
Common Artifacts and How to Reduce Them
Even good tools can leave behind subtle flaws. Knowing what to look for helps you judge whether a result is usable.
Typical artifacts include:
- Jagged or flickering edges
- Halos around the subject
- Missing parts during fast movement
- Inconsistent transparency between frames
You can often reduce these by:
- Starting with the highest-quality source GIF
- Avoiding heavy compression before removal
- Choosing tools that smooth edges across frames
Sometimes, minor imperfections are acceptable, especially for casual or social content. For professional use, they’re more noticeable.
GIF Background Remover vs. Video Background Removal
It’s tempting to convert a GIF into a video, remove the background, and convert it back. This workaround can work, but it has trade-offs.
Video tools often handle motion better and offer cleaner edge detection. However:
- Converting formats may reduce quality
- Frame timing can change
- Looping behavior may break
This approach is best reserved for complex GIFs where direct removal tools fail.
Choosing the Right Tool for Your Use Case
There is no single best GIF background remover. The right choice depends on what you’re trying to achieve.
Ask yourself:
- How important is visual accuracy?
- How complex is the animation?
- Is speed or control more important?
- Where will the GIF be used?
For quick social media edits, automated tools are usually enough. For websites, marketing assets, or product visuals, more controlled solutions tend to pay off.
Practical Tips Before You Start
A few small steps can significantly improve results:
- Use the original GIF, not a re-shared version
- Avoid resizing before background removal
- Test with a short clip before processing a long animation
- Preview the GIF on different backgrounds
These habits reduce surprises and help you spot issues early.
The Realistic Future of GIF Background Removal
Background removal tools are improving, but they’re not replacing human judgment anytime soon. Motion, transparency, and compression remain hard problems.
What’s changing is accessibility. Tasks that once required hours of manual editing can now be done in minutes, even if some refinement is still needed.
For most users, the goal isn’t perfection. It’s flexibility. A clean enough result that works where the original couldn’t.
Frequently Asked Questions
Can a GIF background remover create a fully transparent background?
Yes, most tools can output a transparent GIF, but results depend on how cleanly the subject can be separated from the background.
Why does my GIF look blurry after background removal?
This often happens due to re-encoding or palette changes during processing, especially with already compressed source files.
Are GIF background removers accurate with hair or fur?
They can struggle with fine details like hair, fur, or smoke, particularly in low-resolution or fast-moving animations.
Is it better to remove the background frame by frame?
Manual frame-by-frame editing offers better control but takes significantly more time, making it practical only for important assets.
Can I use removed-background GIFs on any website?
Most websites support transparent GIFs, but file size and performance should be tested, especially on mobile.
Do background removers work equally well on all GIFs?
No. High-contrast, simple animations produce far better results than noisy, low-quality, or heavily compressed GIFs.